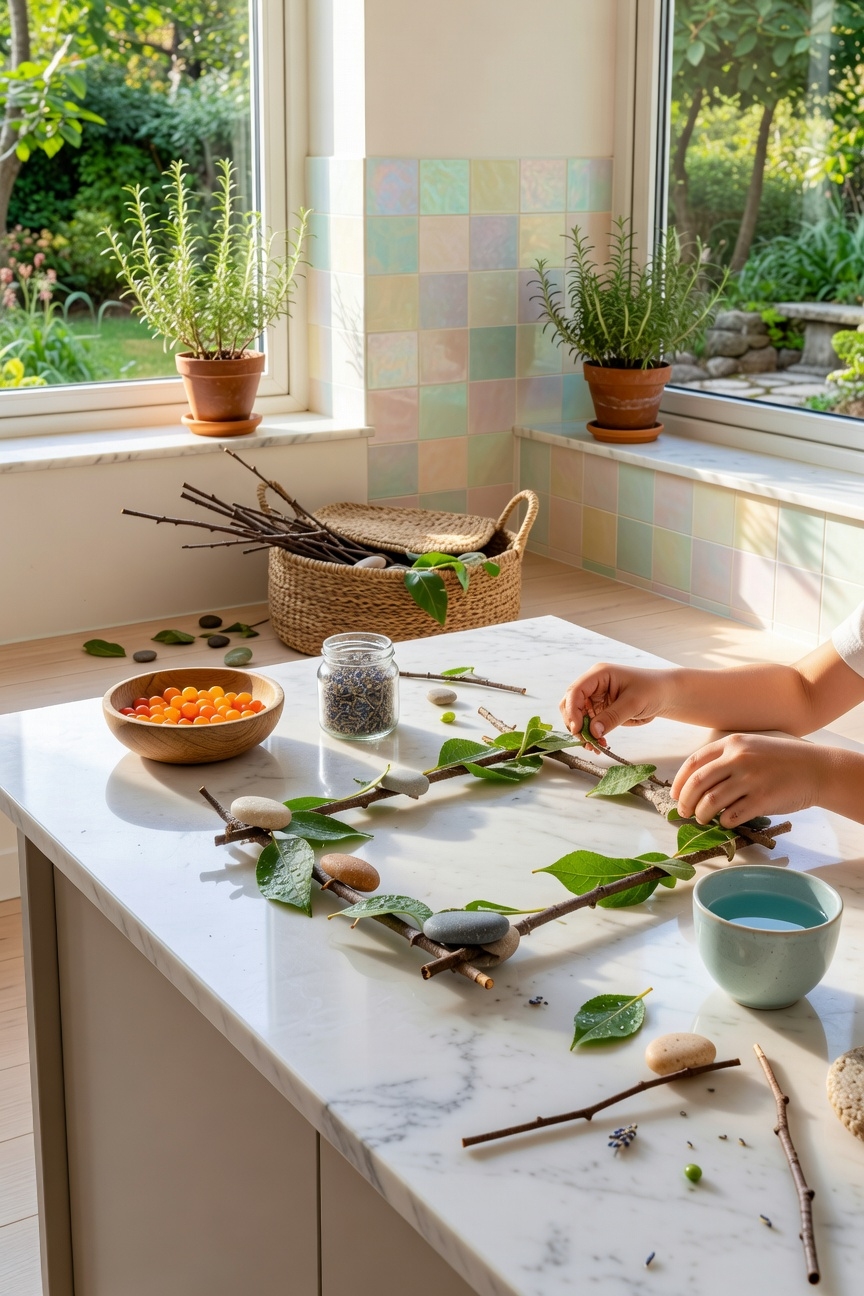
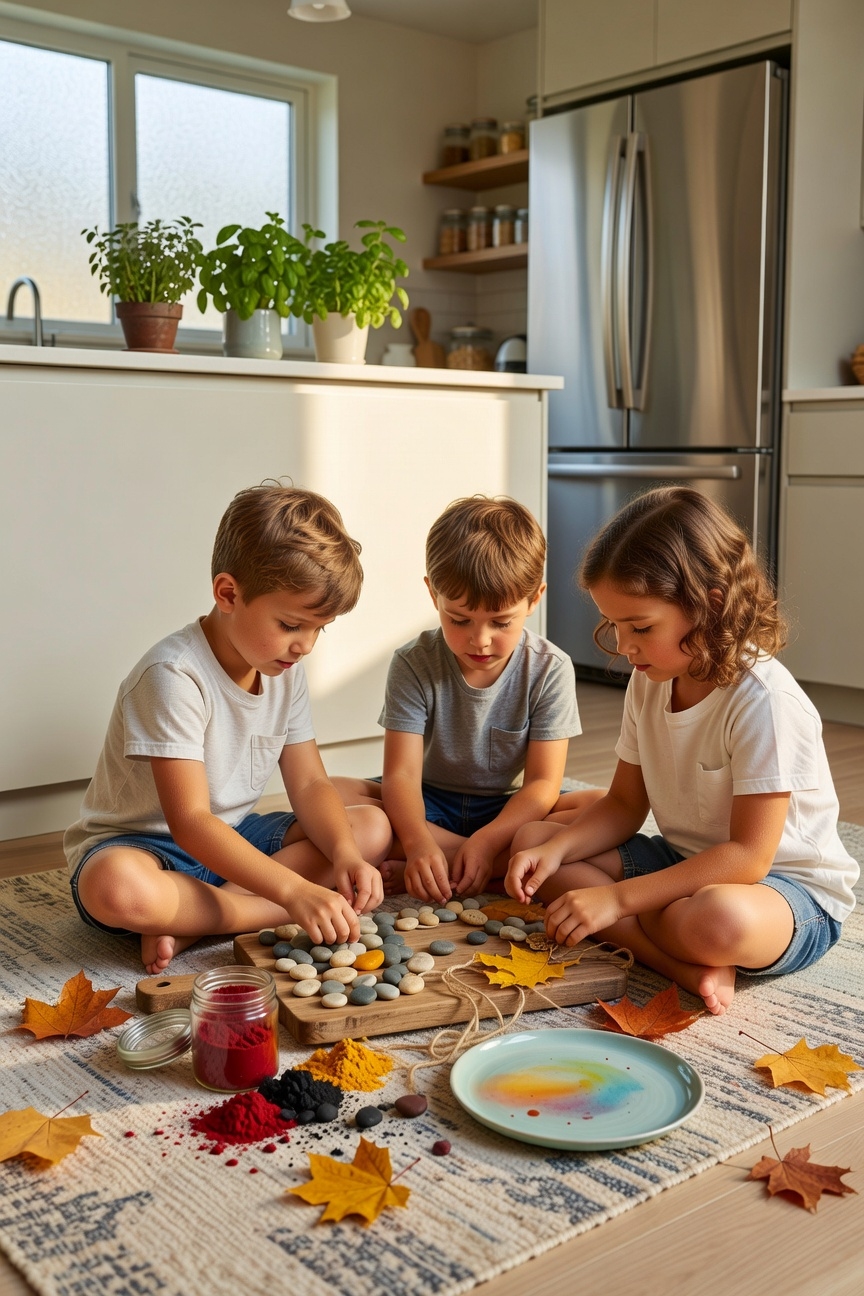
Nearly 80 % of kids say they feel “super proud” after turning a simple leaf into art, and you can tap that excitement with just a few sticks, stones, and supplies. Gather fresh foliage, sturdy twigs, and smooth pebbles, then wash and dry them to avoid mold. Lay a large sheet of paper, press each leaf with a damp sponge, and watch the ink bloom into vivid patterns. While the collage dries, sketch a tiny fairy house on a stone, then glue it onto a twig base for a miniature garden. Ready to explore the next craft that blends texture, color, and imagination?
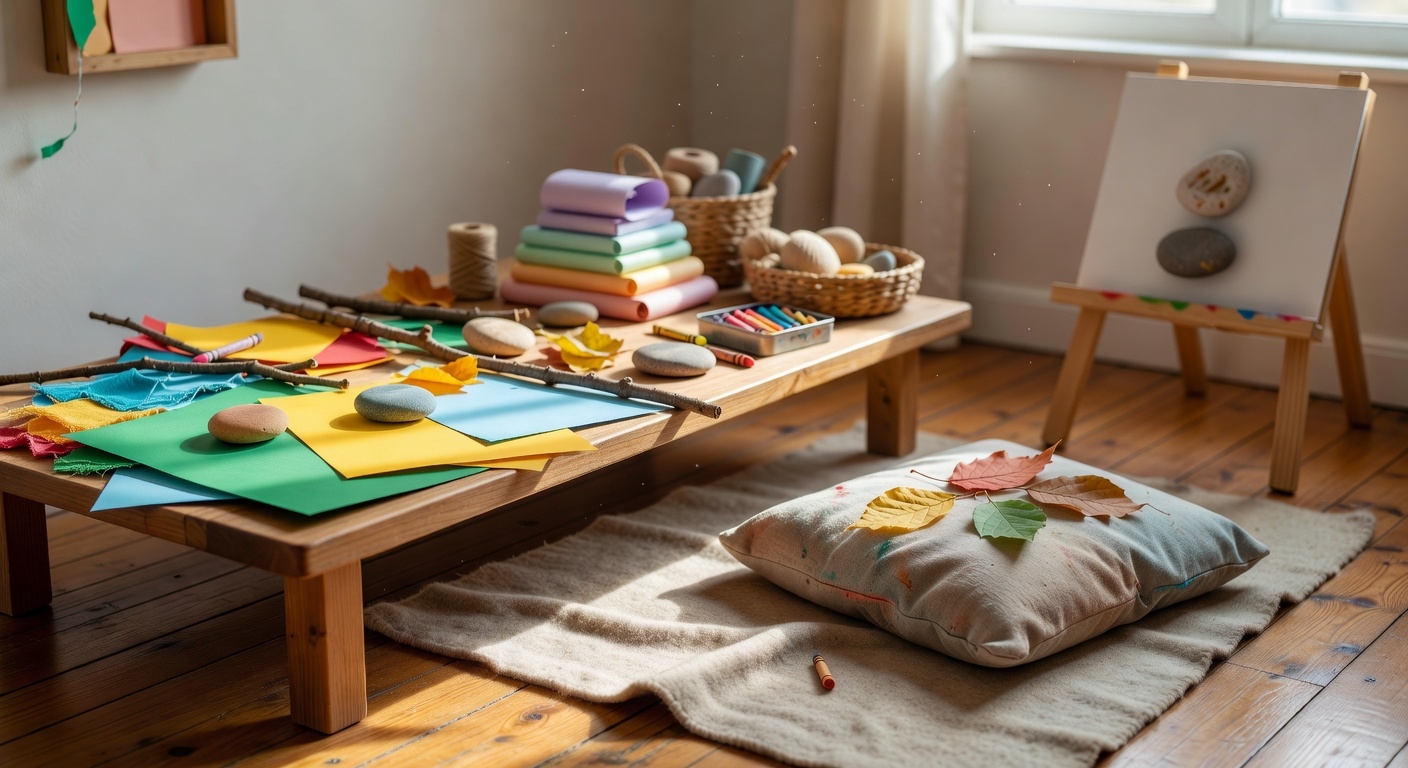
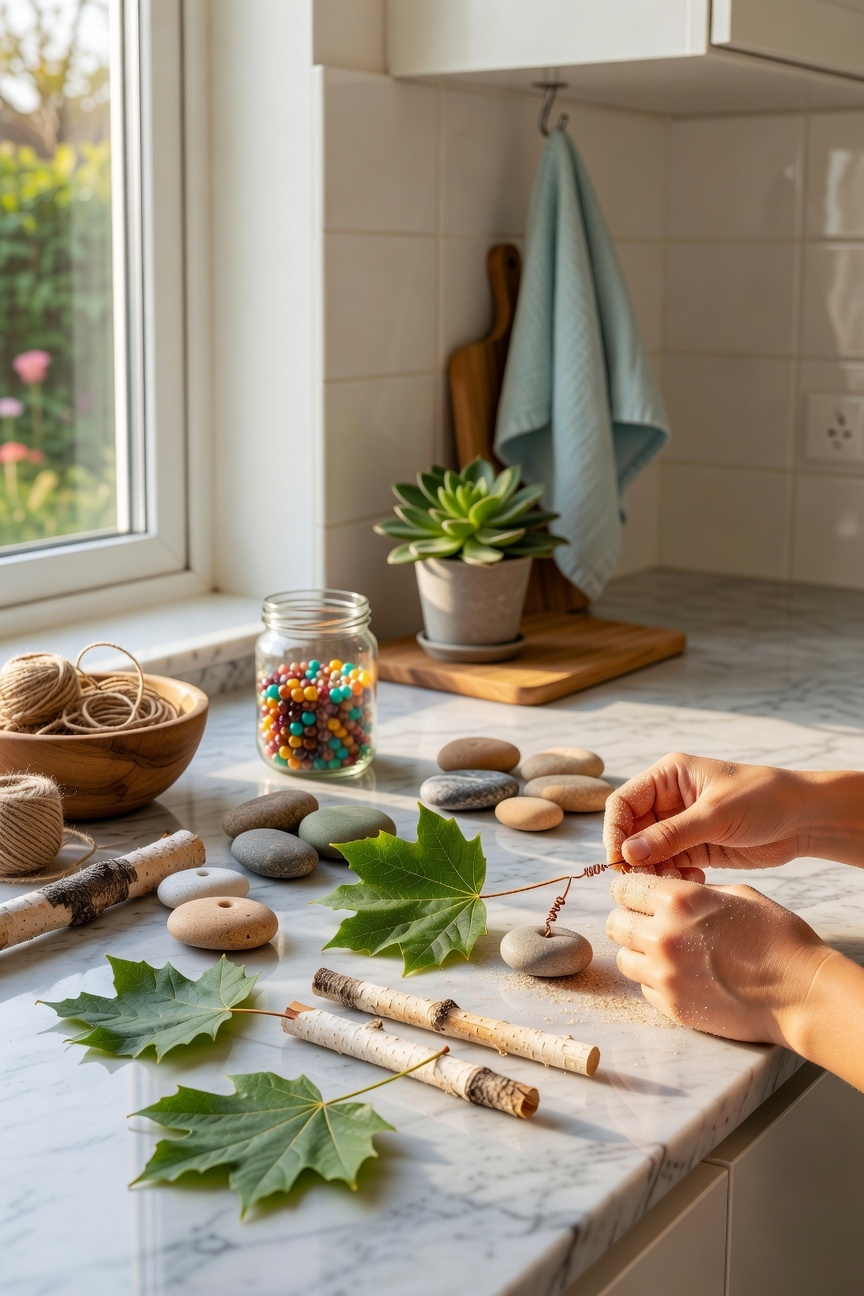
Nature‑Craft Materials & Safety Checklist
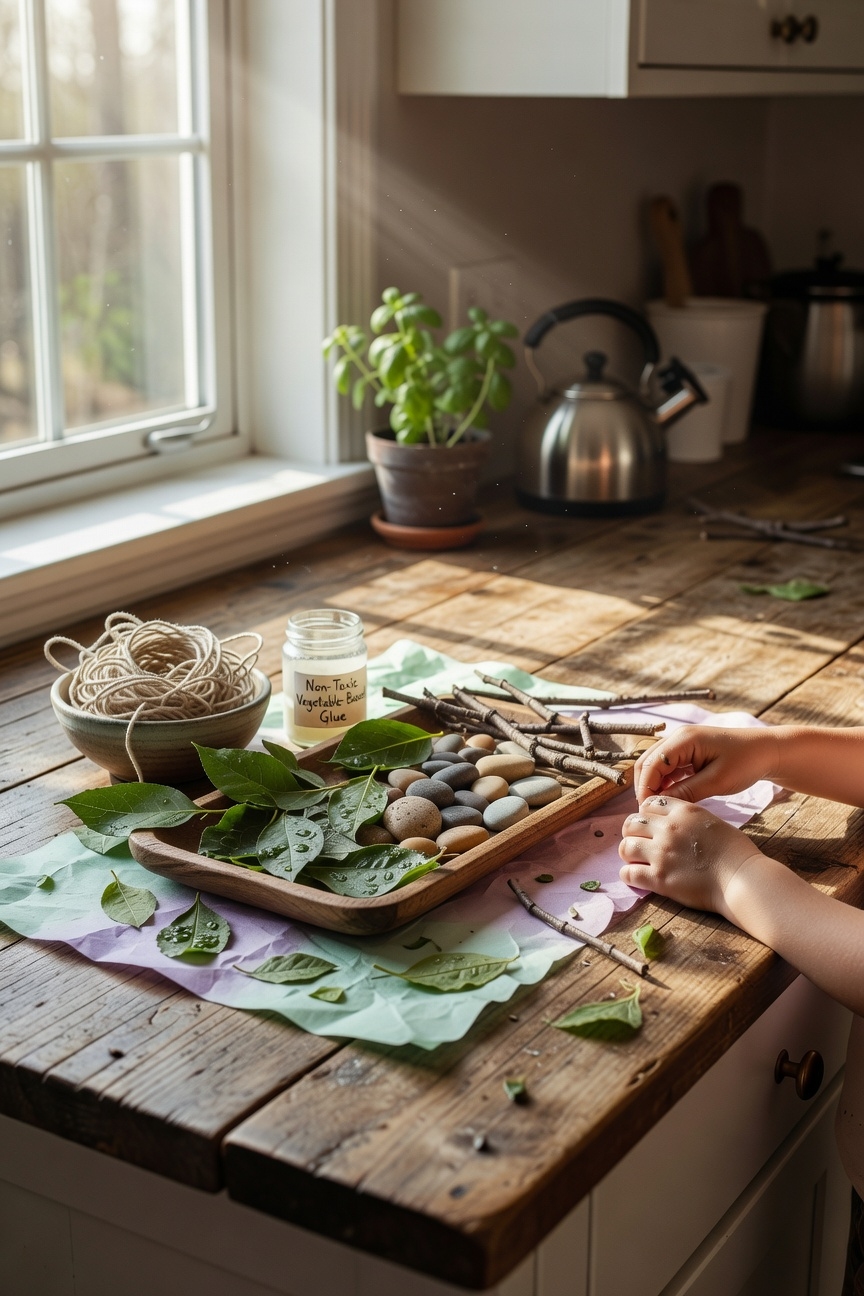
One quick tip before you dive in: gather your nature‑craft supplies and run a safety check so the fun stays safe and sound! Choose sturdy sticks, inspect leaf safety, and test stone durability before outdoor crafting. Prepare materials on a clean surface, supervise kids closely, and set clear crafting spaces. Remember that painted rock markers and other nature crafts require careful selection of materials to ensure they are safe and age-appropriate for your children. This careful material preparation ensures joyful nature exploration and confident creation.
Nature‑Craft Leaf‑Print Collage
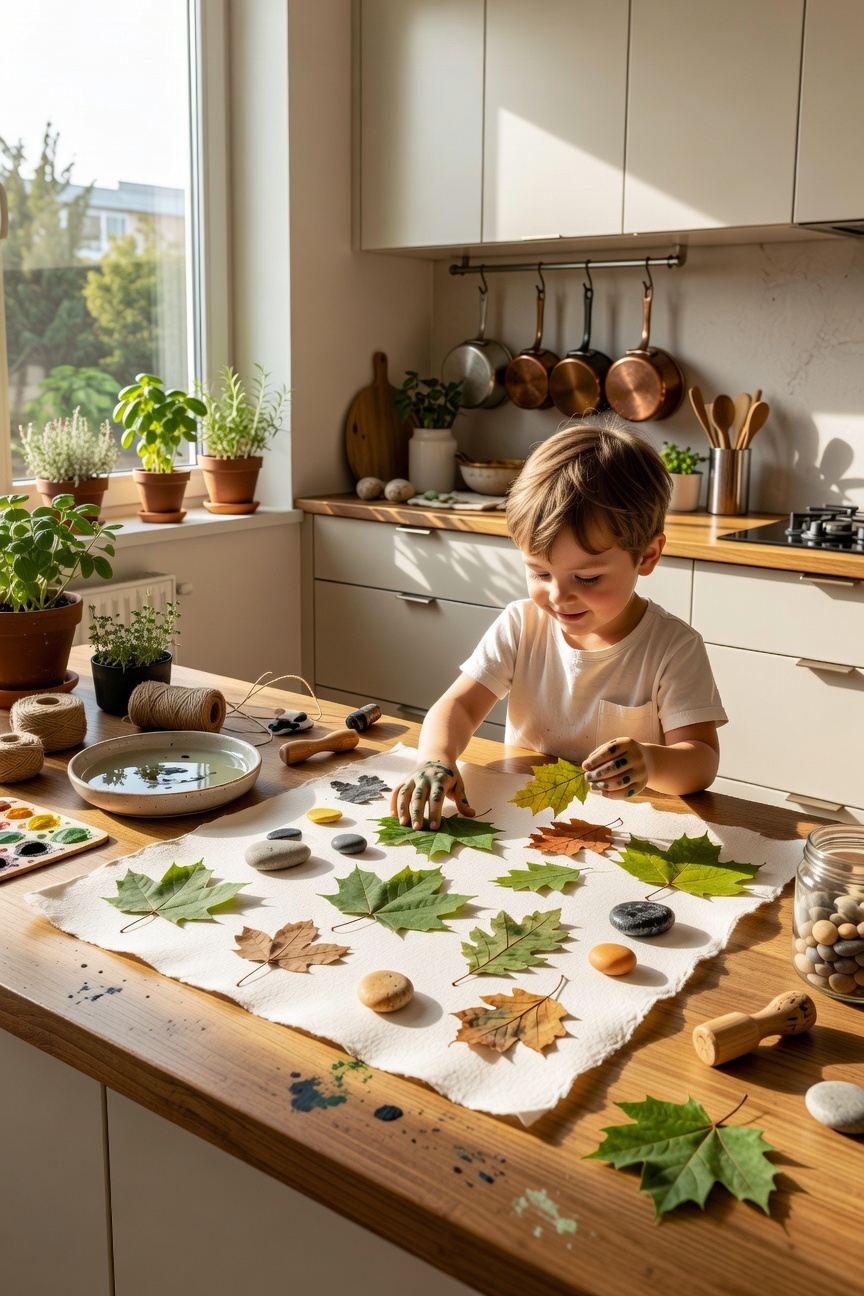
Gather a handful of fresh leaves, about ten to twelve, varying in size and shape, and set them on a clean tabletop. Press each leaf onto non‑toxic paint, using leaf color techniques to blend greens, reds, and yellows. Roll soft rollers for creating textures, then lift leaves gently onto paper. Arrange patterns, press lightly, and admire your vibrant collage! As you gather leaves for this project, consider exploring different leaf shapes and sizes during a nature scavenger hunt to discover the full diversity of leaves in your local environment.
Preserving Your Leaf‑Print Collage

After you’ve finished arranging the leaf‑print collage, sealing it so the colors stay bright is the next exciting step. Apply a thin, non‑toxic sealant with a soft brush; let it dry 15 minutes. Use leaf preservation techniques like pressing under a heavy book for stability. Follow crafting safety tips: work in a well‑ventilated area, wear gloves, and keep materials away from eyes. These preservation methods align with sustainable recycling efforts that teach children environmental responsibility. Your masterpiece will sparkle!
Nature‑Craft Leaf‑Vein Ink Pad
Five simple steps turn a fresh leaf into a vibrant ink pad you can press onto paper for instant art! First, select a sturdy leaf, wash it gently, and pat it dry. Next, rub a small dab of non‑toxic pigment into the veins, then press the leaf onto a tray of soft silicone. Finally, press the leaf‑vein pad onto paper, watch leaf printing bloom! This activity nurtures ecological education while staying safe and fun. Like other nature-inspired crafts, this project encourages children to observe natural patterns and appreciate the intricate details found in leaves.
Nature‑Craft Leaf‑Printed T‑Shirt
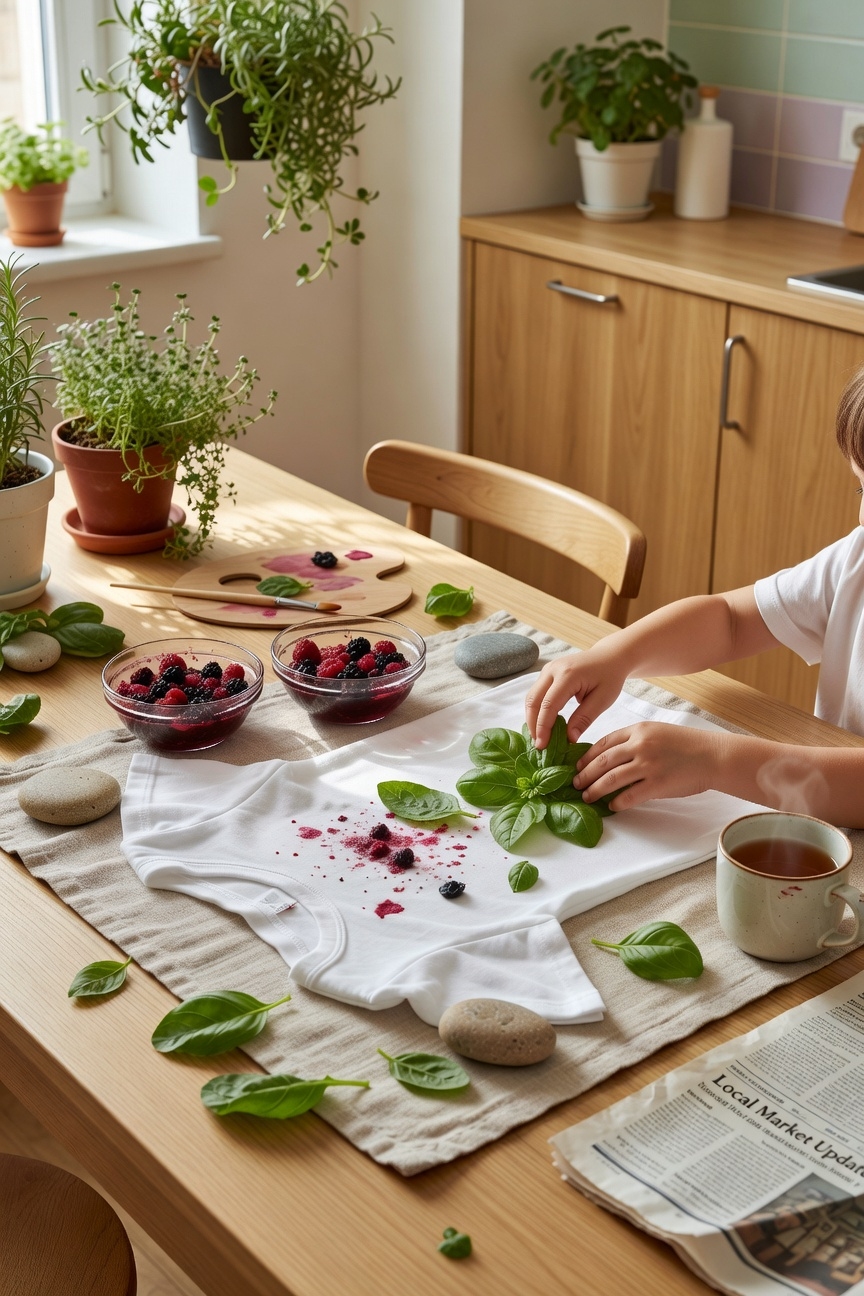
A single fresh leaf can become a natural stamp that turns a plain tee into a leafy masterpiece. You’ll gather a leaf, press it onto a non‑toxic ink pad, then gently press it onto the fabric, using leaf print techniques to create bright patterns. This t shirt design is safe, simple, and fun, watch colors bloom, kids cheering, and their confidence growing! Like other nature crafts for kids, this activity builds fine motor skills while encouraging outdoor exploration and creativity.
Nature‑Craft Stick‑Woven Picture Frame
A sturdy cardboard base becomes the perfect canvas for a stick‑woven picture frame, and you’ll love watching the simple fibers turn into a decorative border. Cut a 12‑inch square, then gather smooth twigs about ½‑inch thick. Weave them tightly, alternating colors for visual interest. Glue edges securely, press the frame onto a favorite photo, and admire your sturdy, safe, handmade picture frame masterpiece!
Fun Variations on Stick‑Woven Frames

Two simple twists can turn a basic stick‑woven frame into a dazzling work of art, and you’ll love watching each variation come to life! Try a criss‑cross pattern using stick weaving techniques; secure each knot with a gentle twist. Add colorful leaves for decorative frame ideas. Measure 12‑inch sides, use child‑safe scissors, and admire the sturdy, vibrant result!
Nature‑Craft Branch Animal Sculpture
Gather a sturdy branch, trim it to about 10 inches, and let imagination run wild as you transform it into a friendly animal sculpture! Choose smooth bark, sand rough edges, then attach leaves for ears and stones for eyes. Follow branch animal ideas and twig creature designs, using non‑toxic glue and safe scissors. Celebrate each quirky critter you craft, kids love seeing their creations come alive!
Nature‑Craft Twig Bookmark
Three sturdy twigs, each about 6 inches long, make the perfect base for a whimsical bookmark that’ll keep your place in any story. You sand the ends smooth, then tie colorful yarn for a sturdy design. Add a tiny leaf or bead as a bookmark embellishment. Test the bend, if it flexes gently, it’s safe. Celebrate your creative twig designs!
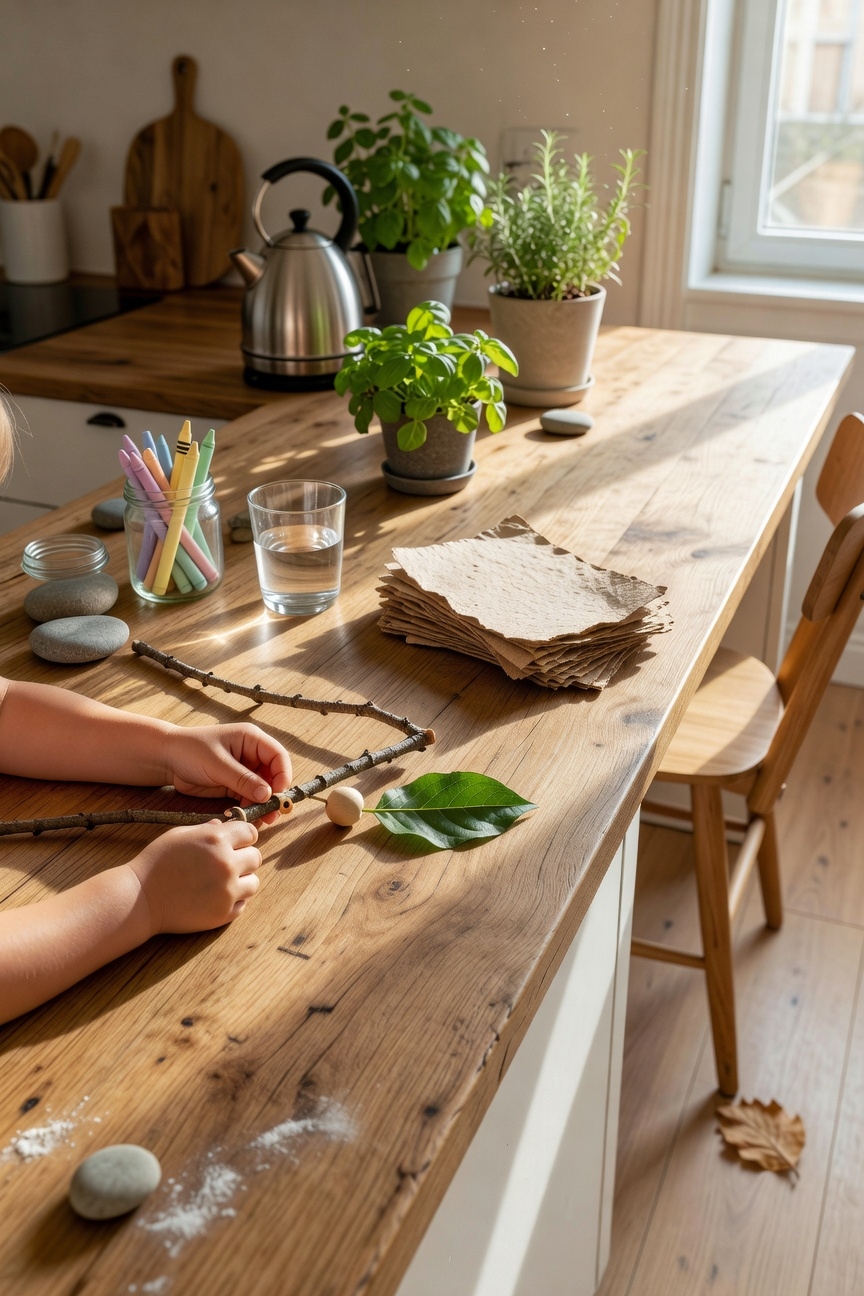
Nature‑Craft Stick Paintbrush
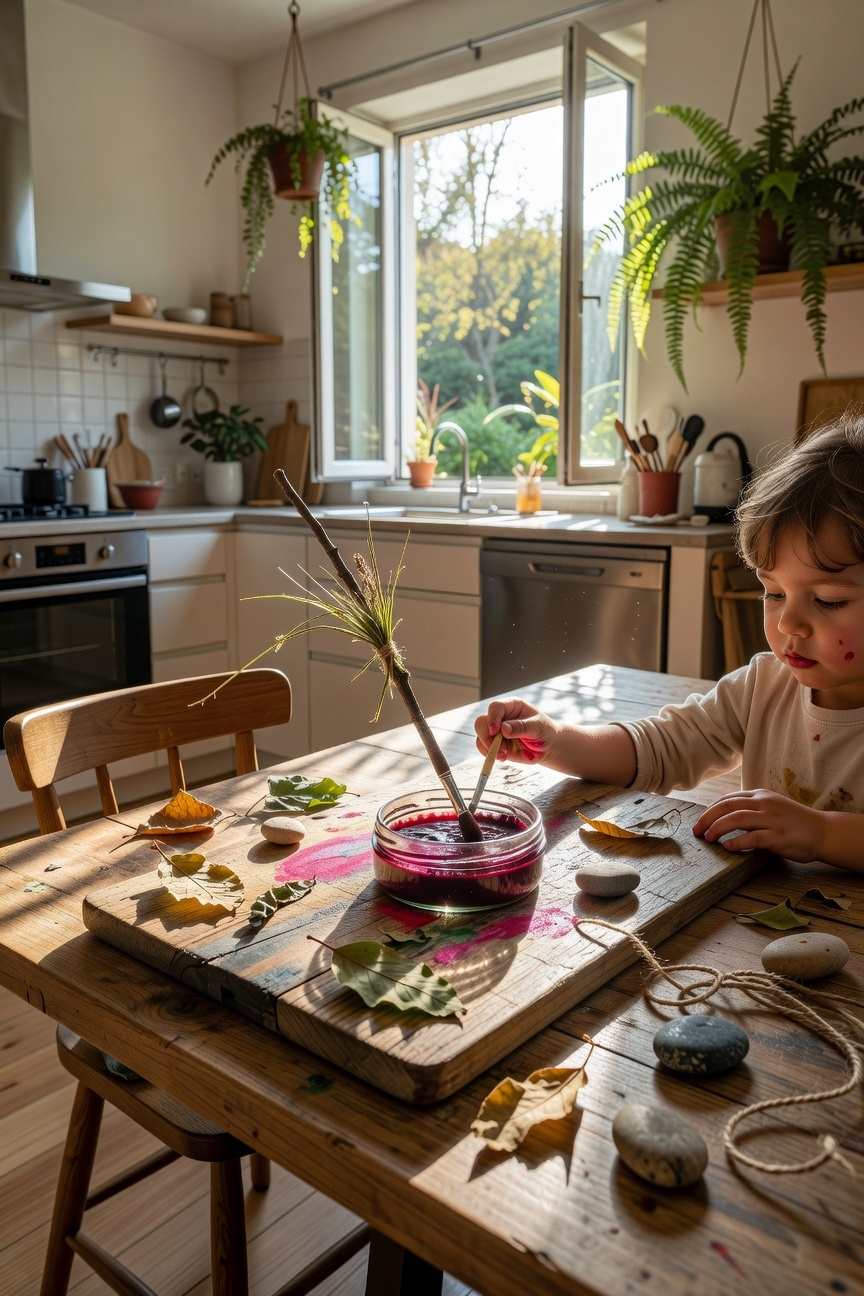
When you find a sturdy, straight stick about 8–10 inches long, you can turn it into a paintbrush that feels just like a magic wand for your artwork! Trim the tip to a point, dip it in washable paint, and press lightly on paper. This stick painting tool is safe, easy, and perfect for nature themed activities. Experiment, giggle, and watch bright colors bloom!
Nature‑Craft Stone‑Painted Coaster
A smooth river stone, about the size of a cookie, makes a perfect canvas for a personalized coaster. Choose bright, non‑toxic paints and test a few coaster designs on paper first. Apply thin layers using gentle brush strokes, letting each dry before adding details. Mix colors with water for safe, fluid painting techniques. Your child will love the sturdy, unique masterpiece!
Sealing Stone‑Painted Coasters for Longevity

Two coats of clear sealant will keep your painted stone coaster looking bright for years, and the process is as simple as a fun science experiment. First, choose a non‑toxic, durable sealant; it’s a key stone sealing technique. Apply a thin layer, let it dry ten minutes, then repeat. You’ll see a glossy, splash‑proof finish, safe, sturdy, and ready for endless play!
Nature‑Craft Pebble Name Tag
Pick a smooth river pebble, wash it well, and let it dry, just like you did with the stone coaster, but now you’ll turn the pebble into a personal name tag. Apply a thin coat of non‑toxic paint for pebble painting, then use a fine brush for clear, legible lettering. Let it dry ten minutes, then seal with a safe, water‑based varnish. Your name tag crafting is complete, fun, colorful, and sturdy!
Nature‑Craft Rock‑Petal Bookmark
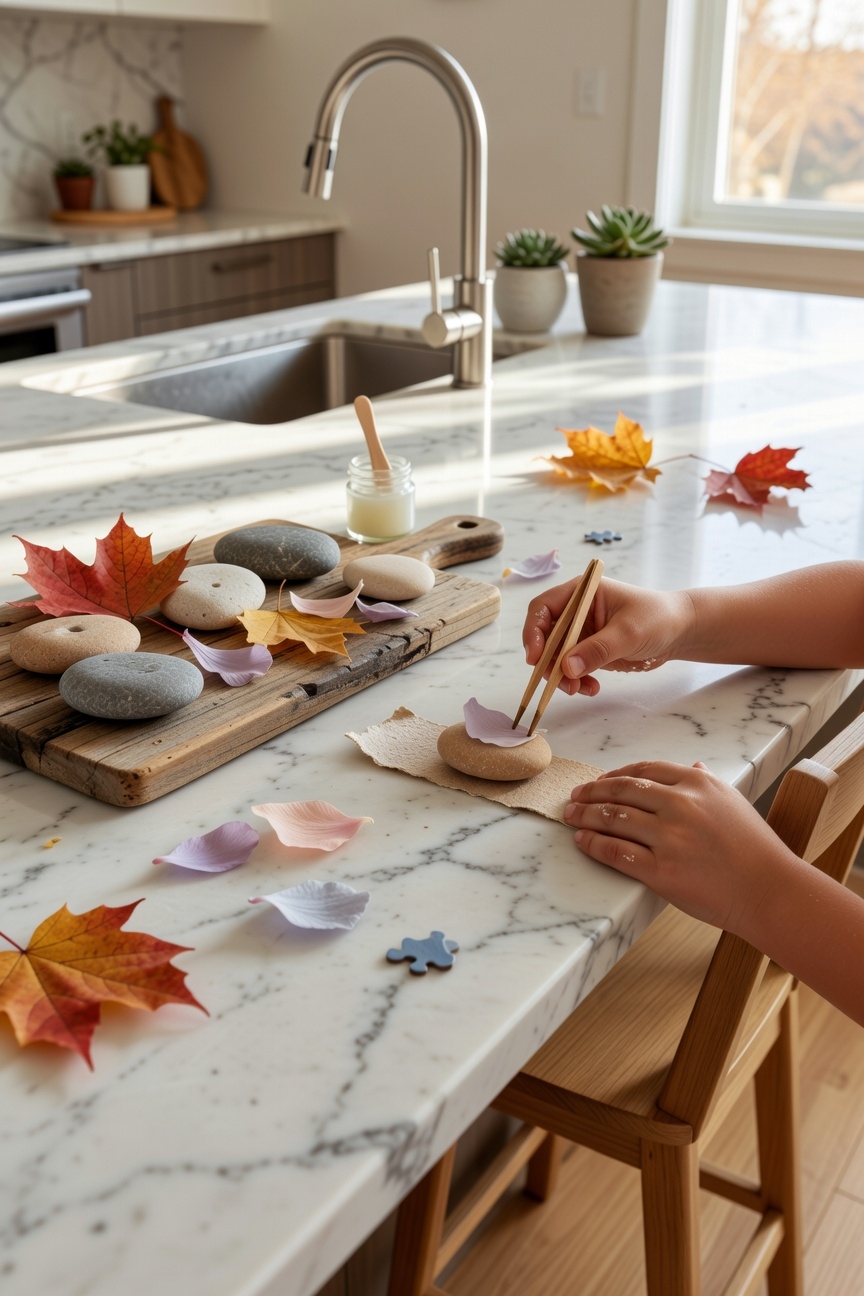
One smooth river rock, about the size of a walnut, becomes the perfect canvas for a bright, petal‑shaped bookmark. First, wash the rock, then dry it thoroughly, safety first! Apply a thin layer of non‑toxic paint; let it dry. Press a colorful petal onto the paint, holding gently for five seconds. Once set, seal with a clear, kid‑safe coating. Your bookmark shines, ready for any story!
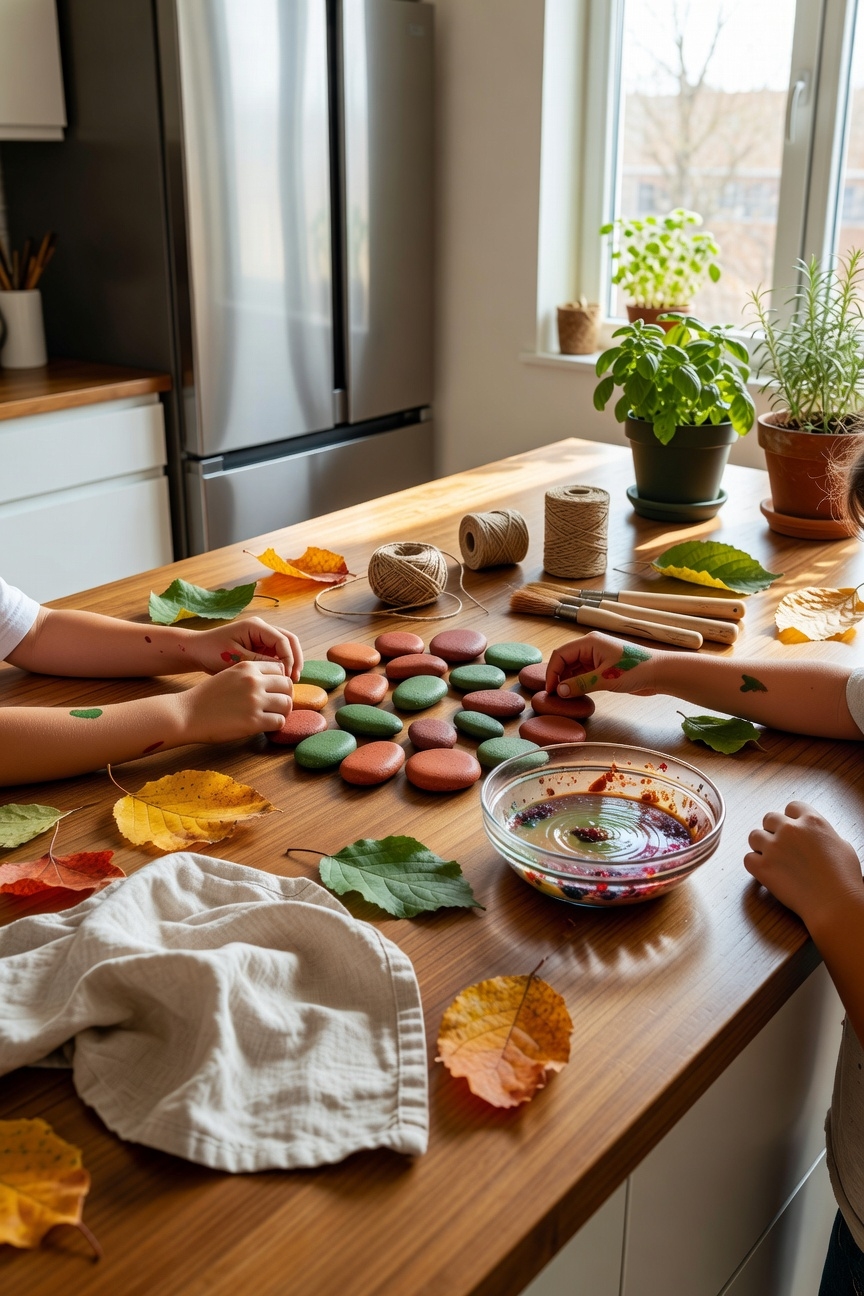
Nature‑Craft Stone Garden Marker
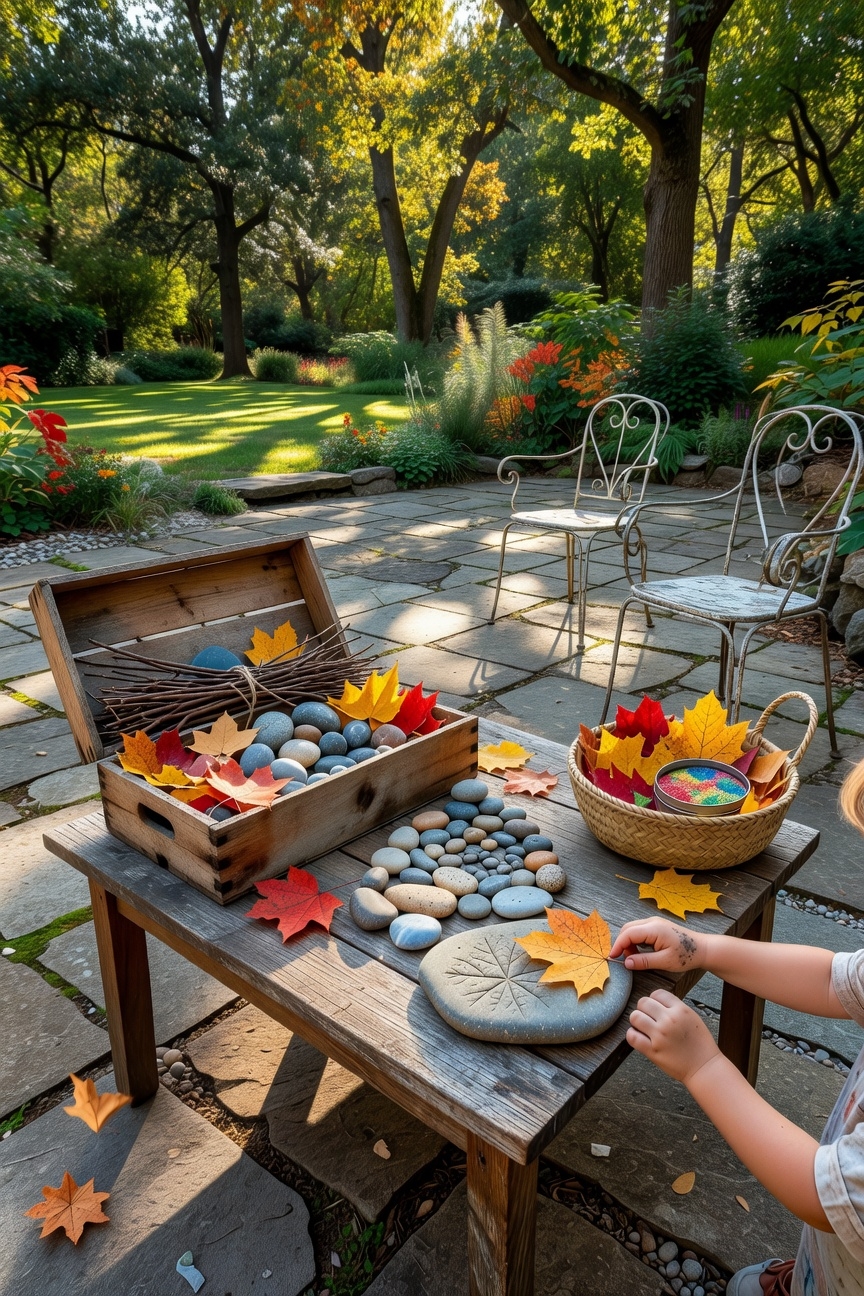
A smooth river stone, about the size of a tennis ball, makes a perfect canvas for a garden marker that will brighten any backyard. Pick a stone, wash it, then use non‑toxic acrylics for stone painting. Write clear names for garden labeling, letting kids practice fine motor skills. Let the paint dry 30 minutes, then seal with a child‑safe varnish. Place it beside seedlings, watch pride blossom!
Nature‑Craft Fairy‑House Shelter
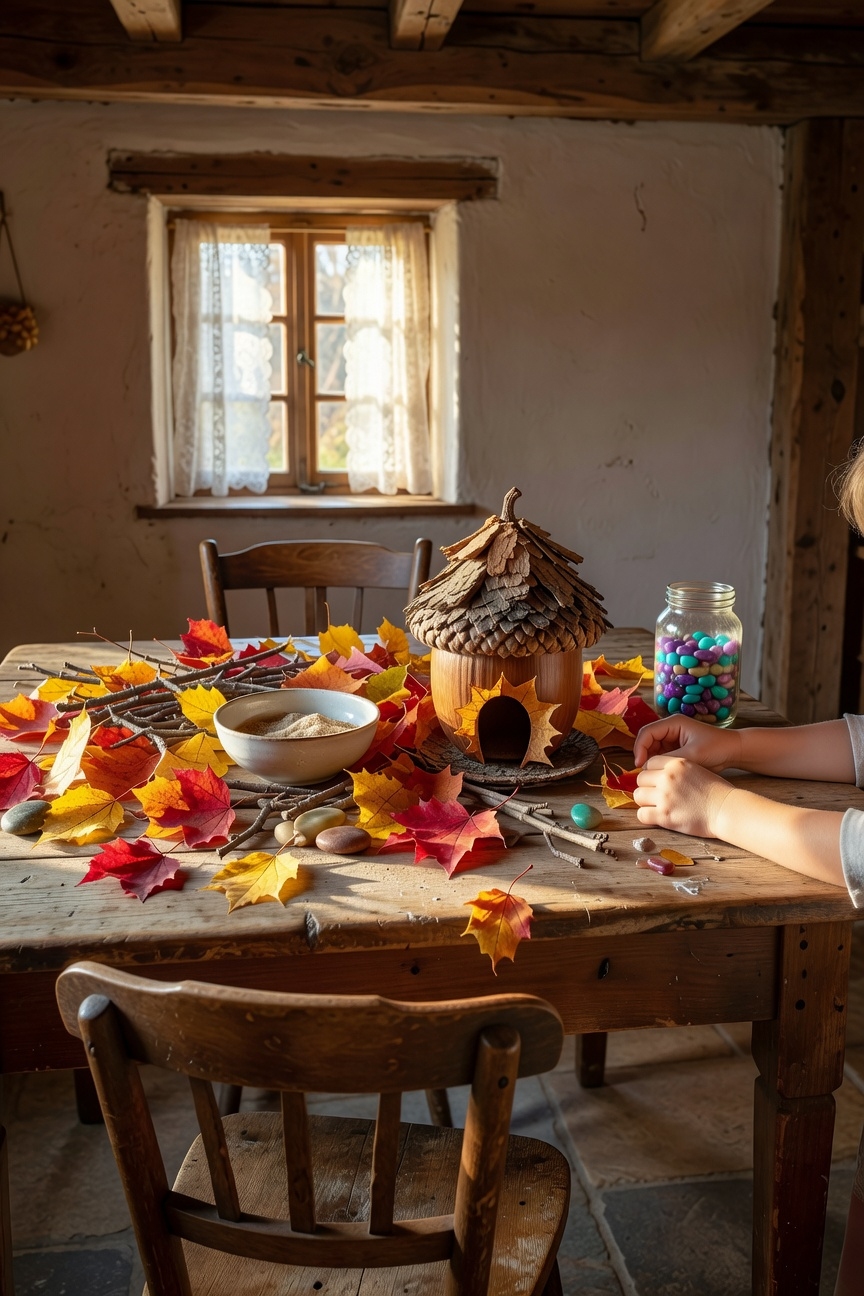
When you gather a small log or a sturdy piece of bark, about 6 inches long and 2 inches thick, you’ll have the perfect foundation for a fairy‑house shelter that sparks imagination. Choose fairy house materials like pine cones, smooth stones, and twine; apply building techniques that glue or tie securely. Add nature inspired decorations, moss roofs, leaf windows, matching whimsical fairy house themes. Test stability, then cheer as tiny residents move in!
Nature‑Craft Wind Chime
Gather a sturdy branch about a foot long and a few inches thick, then trim it to a smooth, flat base, this becomes the wind‑chime’s frame, the “backbone” that holds everything together. Cut three lengths of thin bamboo, each 6‑inch, and drill tiny holes for safety‑checked metal rings. Thread seashells, small stones, and wooden beads, sound materials, onto the rings. Hang them evenly, test gentle breezes, and enjoy soothing tones!
Nature‑Craft Leaf Sun‑Catcher
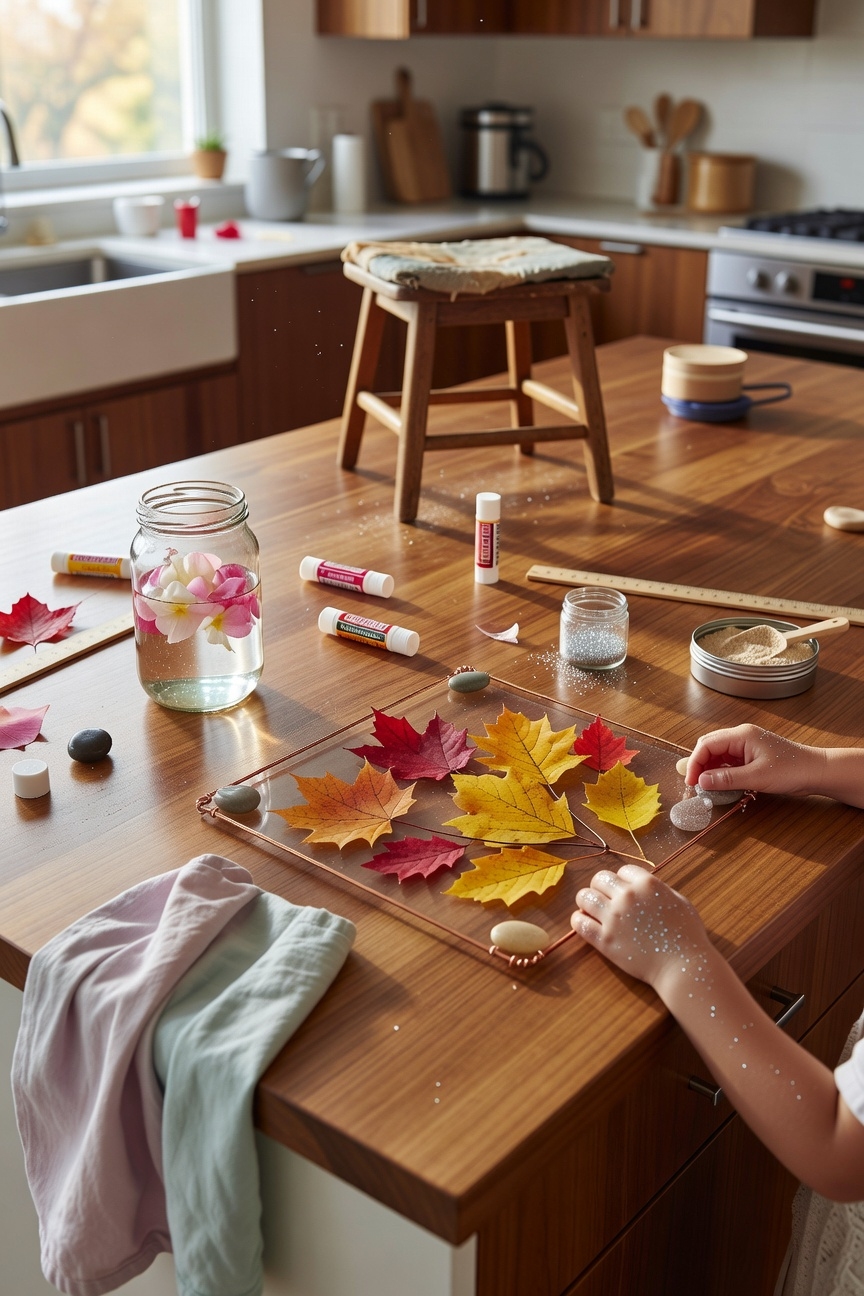
Snap a fresh, glossy leaf onto a sturdy cardboard frame and watch it turn into a radiant sun‑catcher! Choose bright autumn hues for leaf color exploration, then trace the leaf shape with a pencil. Cut a 6‑inch circle, glue the leaf, and attach a clear plastic dome. Sun catcher tips: use non‑toxic glue, press gently, and display near a sunny window. Enjoy!
Nature‑Craft Acorn Candle Holder
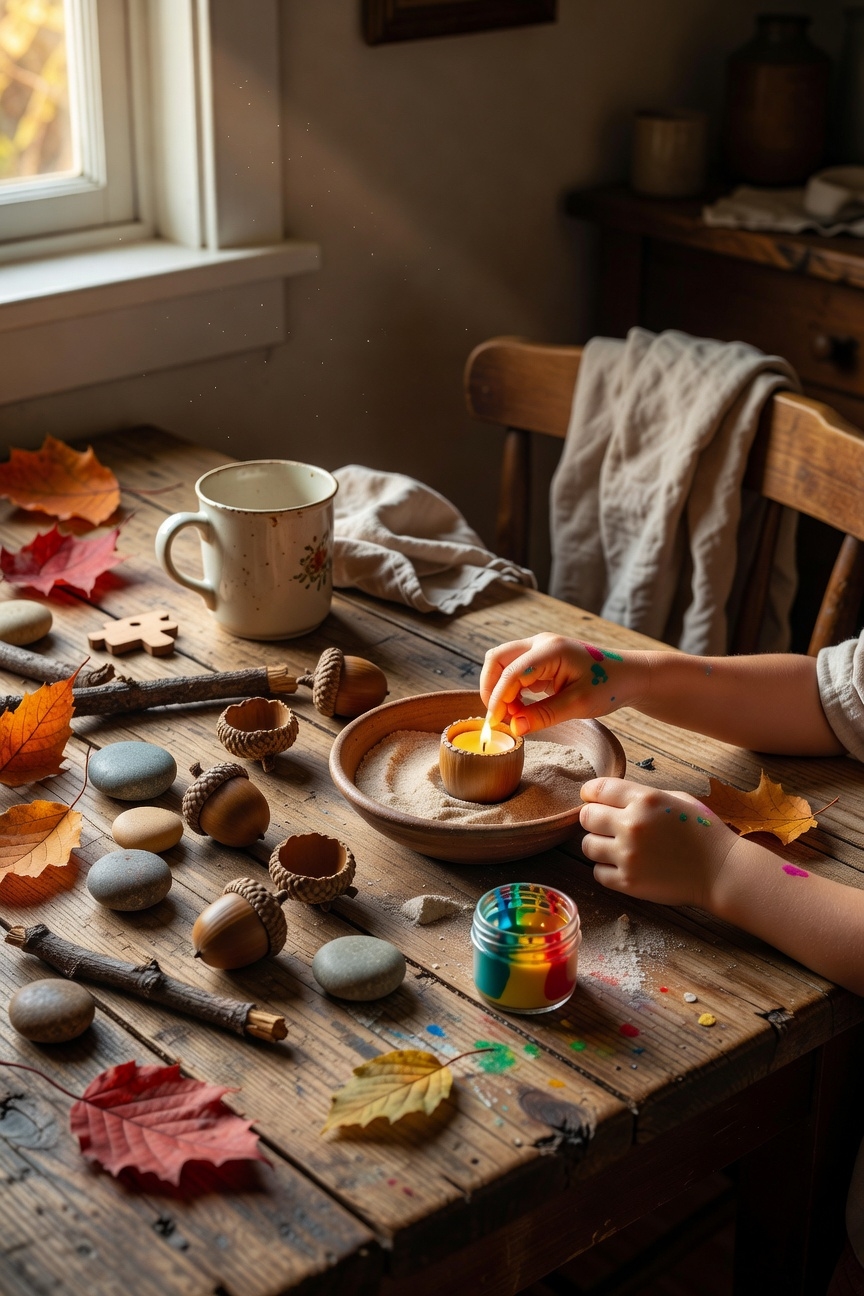
A sturdy acorn cap becomes a tiny lantern when you turn it into a candle holder! First, clean the cap, then gently carve a small opening using a safe craft knife, ask an adult for help. Insert a tealight, secure it with a dab of hot glue, and add glitter for acorn candleholder decoration. Follow simple acorn crafting techniques, and watch your mini‑lantern glow safely!
Nature‑Craft Bark Stamp
Press the bark of a fallen branch onto a clean surface and watch it transform into a natural stamp! Choose a smooth, flat piece of cardboard, then dip the bark textures into non‑toxic ink. Press firmly, then lift to reveal crisp patterns. Experiment with stamp techniques, rotate, tilt, layer colors. Safe, simple, and fun, your creations will sparkle, encouraging confidence and imagination!
Nature‑Craft Mobile Hanging
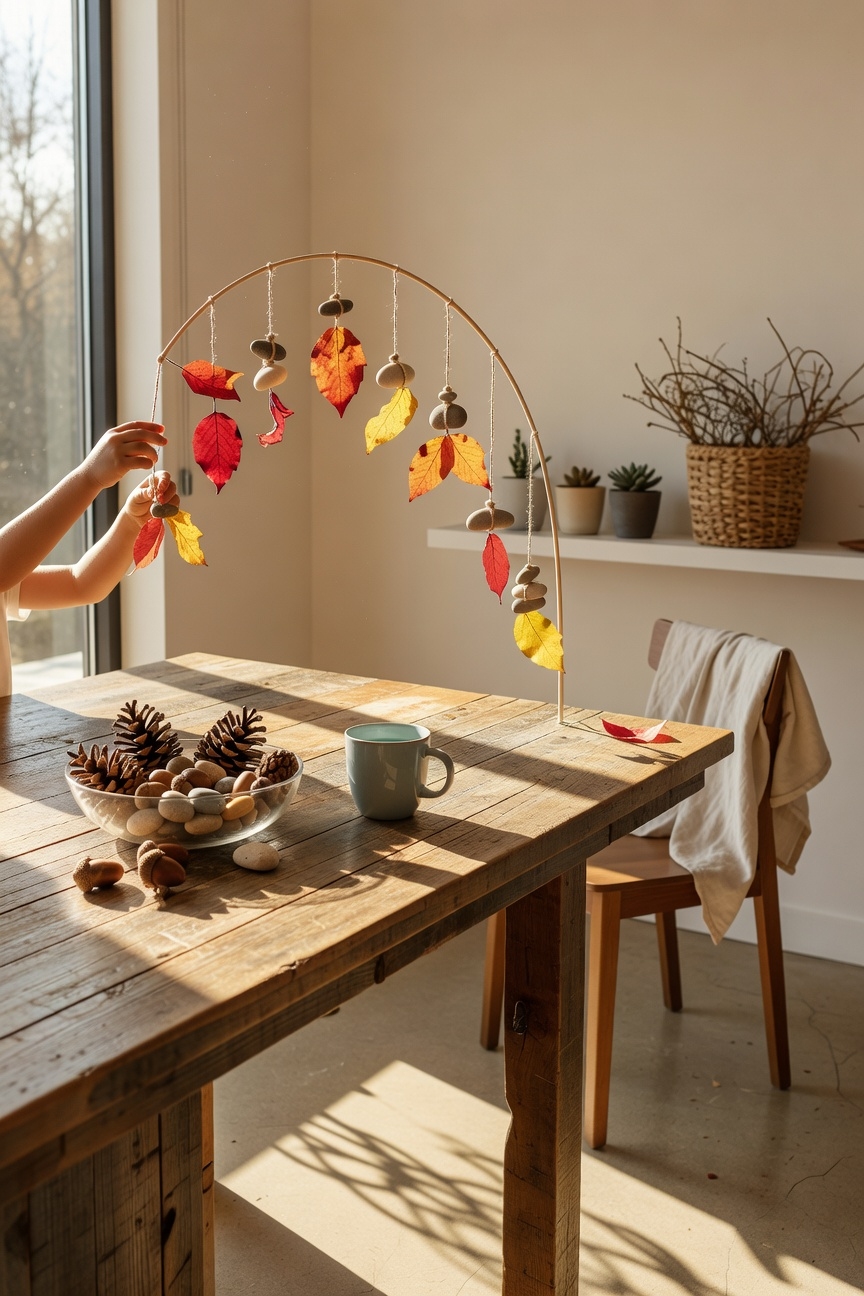
Leaves fluttering from a gentle breeze become the stars of your own hanging mobile, just picture a tiny forest swaying above a desk. Gather sturdy twine, safe scissors, and light leaves; cut 12‑inch strings, tie each leaf, and attach to a central wooden ring. Explore mobile design ideas using balanced nature themes, securing knots tightly. Hang at eye level, watch kids marvel as breezes animate their creation!
Final Takeaways
Now you’ve turned sticks, leaves, and stones into masterpieces, no wonder the backyard’s applying a gallery! Keep experimenting, measure each leaf’s length, press gently, and watch colors bloom. Celebrate every sticky finger and triumphant grin; those tiny triumphs build confidence and fine‑motor skill. Remember, a twig bookmark can hold a whole story, and a stone coaster can survive a soda spill. So grab the next leaf, dive in, and let nature’s creativity run wild!